REVIEW · HOBART
kunanyi/Mt Wellington Tour and MONA Admission
Book on Viator →Operated by Experience Tasmania Gray Line Day Tours · Bookable on Viator
Two very different Hobart highlights in one day. You start with guided time on Kunanyi/Mt Wellington, moving through alpine ecosystems with a stop near the Organ Pipes rock formation, then you wind down at MONA for a long, ticketed art visit after a scenic Derwent River cruise. It’s a strong one-day combo if you want big views and a very modern museum without doing extra planning.
I especially like how the itinerary makes the most of the day: you get hotel pickup, an air-conditioned coach, and then you’re not stuck figuring out the ferry and entry on your own. The timing also gives you real time at MONA (about four hours), so you can choose how fast or slow you go instead of being herded. One downside to expect is weather: Mt Wellington can be brutally windy and cold, and clouds can erase the Hobart view.
In This Review
- Key Points to Know Before You Go
- Getting To Kunanyi/Mt Wellington: Waterfront Start, Real Time On Top
- Why this start matters
- Kunanyi/Mt Wellington Ecosystems and the Organ Pipes Moment
- Summit time: short, but meaningful
- Dress advice that actually helps
- The Mountain to Garden Shift: Cascade Gardens and Cascades Female Factory Stops
- What I like about this pacing
- MONA in the Afternoon: Architecture, Collections, and How to Spend 4 Hours
- Give yourself time to choose your path
- MONA isn’t for everyone, and that’s normal
- What I consider a smart MONA strategy
- The Derwent Ferry Ride: Scenic Time, Not Just Transport
- Why the ferry matters for value
- Price and Logistics: Is $101.85 Good Value?
- Group size and how that affects your day
- The weather reality you’re paying for
- Who This Tour Fits Best (and Who Should Think Twice)
- Should You Book Mt Wellington and MONA?
- FAQ
- How long is the Mt Wellington and MONA tour?
- What’s included in the price?
- Where does the tour start and end?
- What time does it start?
- Is there a ferry to MONA, or do I travel some other way?
- What happens if the weather is bad for Mt Wellington?
Key Points to Know Before You Go
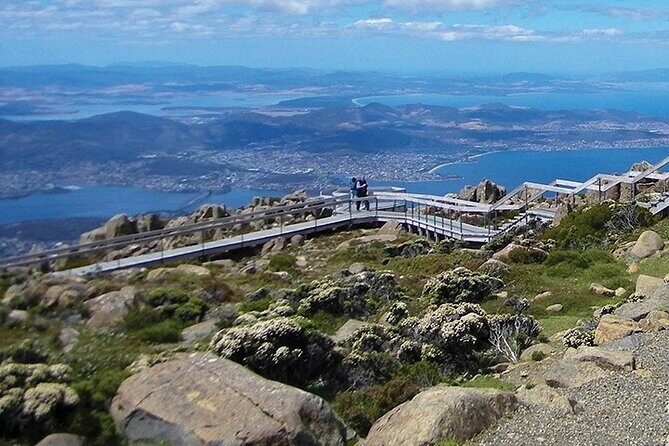
- Kunanyi/Mt Wellington guided ecosystems with a planned summit visit, not just a quick bus stop
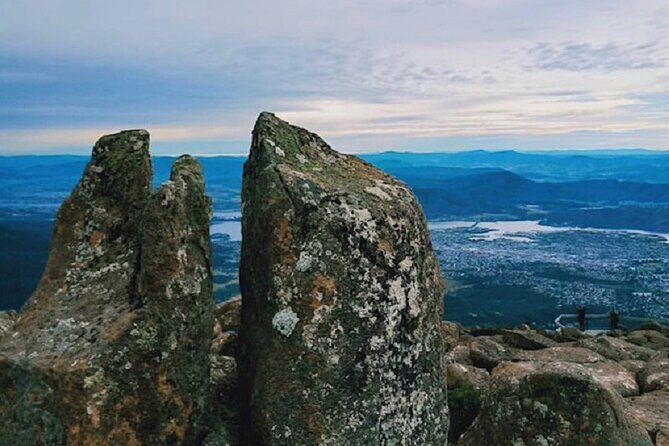
- Organ Pipes viewpoint during the ascent, where the rock shapes really pop
- Cascade Gardens (since 1827) plus a look at the Cascades Female Factory remains
- MONA entry included with about 4 hours inside the museum
- Return ferry ticket is included, with a scenic Derwent River ride both ways
- Cold-weather reality: even when Hobart city feels mild, the summit can feel like a different world
Getting To Kunanyi/Mt Wellington: Waterfront Start, Real Time On Top
This tour is built for a smooth day out from Hobart. Pickup is offered, the coach is air-conditioned, and the tour uses a ferry connection to reach MONA. If you like starting from the city without lugging bags across town, that part is handy.
You begin at the Mona Brooke Ferry Terminal area (Franklin Wharf) and the day is scheduled to start around 9:00 am. The total time runs about 7 hours 30 minutes, which is a lot for one day, but the key is how it’s paced: you get a proper morning on the mountain, then you shift to a slower-feeling afternoon at MONA.
More Mount Wellington and Kunanyi in Hobart & Tasmania

Why this start matters
Mt Wellington and MONA are both worth it, but they are not close to each other in a simple, walk-and-taxi way. This format means you get the best of both worlds: mountain first (when skies can be clearer) and MONA later (when you’re warm inside and can take your time).
Kunanyi/Mt Wellington Ecosystems and the Organ Pipes Moment
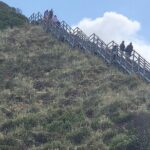
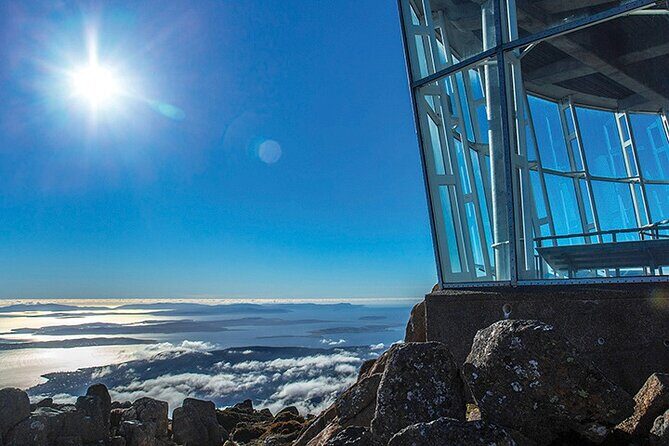
The star of the morning is Kunanyi/Mt Wellington. Your guide leads the drive and keeps the story moving as you climb through different environments. At this altitude, the mountain is all about exposure: wind, sudden temperature swings, and the kind of alpine conditions that can feel surprisingly harsh even when you’re only there for a short block of time.
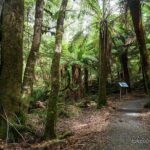
You’ll pass through multiple ecosystems as you ascend, and there’s a stop where you can see the massive rock formation called the Organ Pipes. That’s one of those places where the geology is doing all the talking, and your guide adds context so it’s not just a photo stop.
Summit time: short, but meaningful
The tour includes about 1 hour 15 minutes for the Mt Wellington portion, with the summit experience designed to be around 30 minutes once you arrive. That’s enough time to:
- take in the main viewpoints
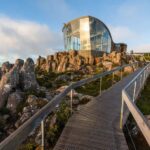
- see the observatory area
- do a short walk if the wind isn’t too intense
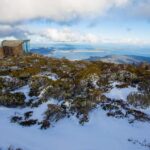
But I want to be blunt about the big variable: visibility. Mt Wellington can be clear, or it can be capped in cloud. If you’re planning this as a once-in-a-trip sight, treat weather as part of the deal.
Dress advice that actually helps
Several people call out how cold and windy it can get even in late spring/early summer. So plan like you’re going to the coldest version of Hobart, not the mildest one. Bring layers you can peel on and off fast, and don’t skip gloves if you run cold hands.
Also, keep your expectations flexible: if you don’t get a crisp view over the city, you can still enjoy the mountain itself—the air, the stark conditions, and the sense of stepping into an alpine zone.
More MONA in Hobart & Tasmania

The Mountain to Garden Shift: Cascade Gardens and Cascades Female Factory Stops
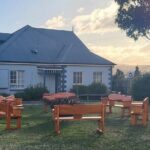
Between the mountain and MONA, you get a breather with Cascade Gardens. This is one of those stops that adds variety to the day. The gardens are historic, dating back to 1827, and they give you a calmer pace after the physical chill of Mt Wellington.
The stop is short—about 15 minutes—so think of it as orientation and atmosphere, not a long wander. You’ll also see the remains of the Cascades Female Factory, a one-time female prison. Your guide provides the background so it’s not just a quick glance at old structures.
There’s also a brief look at the Cascades Female Factory Historic Site exterior. This is about 5 minutes, and it’s basically a guided explanation from outside, which keeps the day moving but still adds context to the “why” behind the place.
What I like about this pacing
This kind of stop works well because it changes your mental gear. A morning up high can make your legs feel stiff and your brain focused on views and photos. The gardens shift you back to Hobart’s human scale, and the prison history adds weight without turning the day into a long museum.
MONA in the Afternoon: Architecture, Collections, and How to Spend 4 Hours
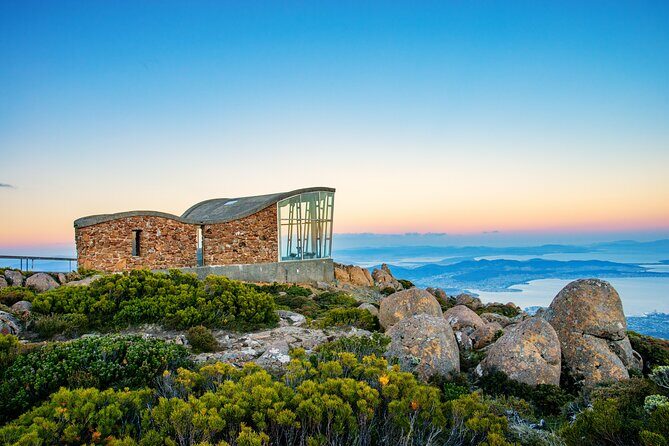
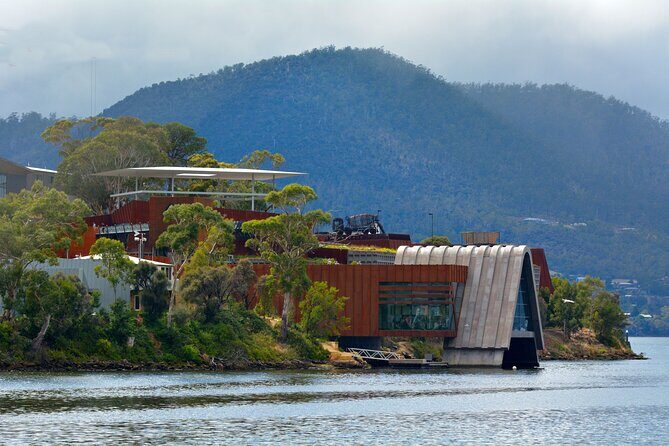
MONA is scheduled as the longest single block of the day: about 4 hours, with entry included. Even if you’re not sure you’re an art person, MONA tends to grab attention fast because of its striking architecture and its reputation for being unconventional.
The museum is described as one of Australia’s most fascinating art museums, and it includes a mix that can surprise you. The collection spans traditional and contemporary work, with examples noted such as Egyptian mummies and edgy contemporary installations. That combination is part of the appeal: it’s not trying to be one strict style.
Give yourself time to choose your path
Four hours sounds generous for a museum, and that’s the point. You can do a light scan of major spaces, or you can slow down and follow what grabs your eye. One practical benefit of having a dedicated block on a guided tour is that you’re not scrambling for entry tickets and timing once you’re there.
MONA isn’t for everyone, and that’s normal
Some people love the experience and remember it vividly, and others find the art frustrating or overhyped. That split is part of MONA’s personality. If you’re the type who needs clear explanations for every piece, you may feel less comfortable here than someone who enjoys asking questions without answers.
If you’re sensitive to strong smells or you don’t like tight layouts, keep your expectations flexible. I’m not saying it will happen to you, but one report mentioned issues in stairwell areas, so it’s worth being aware.
Also, plan for queues and indoor logistics. One report mentioned that digital guidance wasn’t great and that there was a queue for digital elements. The fix is simple: don’t plan to rush. Show up ready to take the museum on its own terms.
What I consider a smart MONA strategy
Use the architecture and the big standout elements as your anchor, then let the rest be a choose-your-own-adventure. If a section feels like work, move on. MONA works best when you treat it like a full afternoon, not a checklist.
The Derwent Ferry Ride: Scenic Time, Not Just Transport
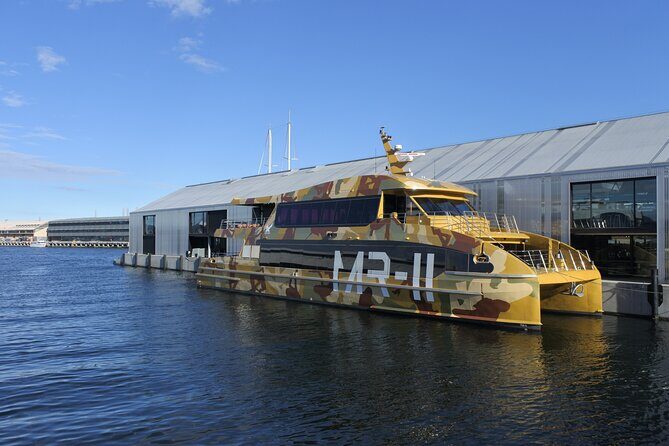
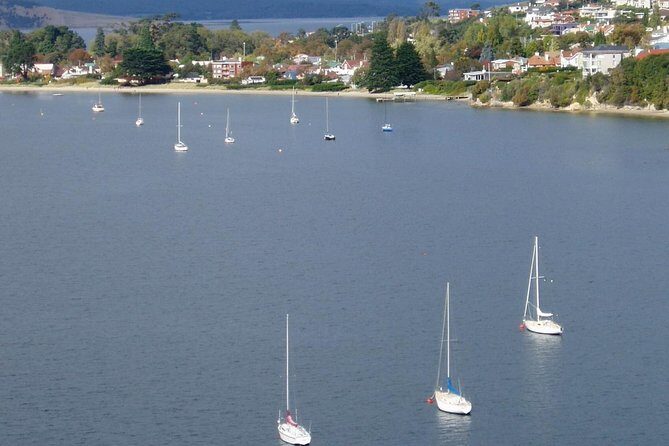
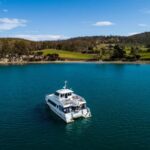
A key part of the flow is the ferry. You travel to MONA using a relaxing scenic cruise along the Derwent River, and you get a return ferry ticket included too. That means you’re getting views of the water even if you’re not in “museum mood” yet.
One practical tip: if you want more air and better photo angles, ask for seating toward the back and lean into any outdoor or semi-outdoor areas when possible. The ferry ride is often one of the easiest parts of the day because it requires less decision-making.
Why the ferry matters for value
When a tour includes the ferry ticket, it removes a common source of stress: timing and transport planning. You’re also less likely to burn half your day bouncing between spots. The ferry turns travel time into part of the experience.
Price and Logistics: Is $101.85 Good Value?
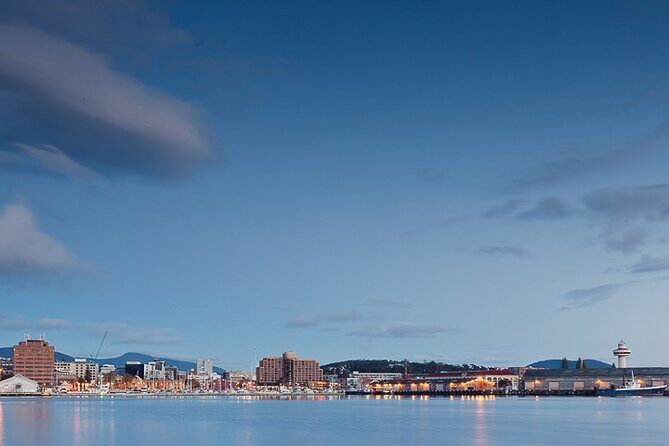
At $101.85 per person, the best way to judge value is by what’s bundled. This ticket includes:
- hotel pickup (where available)
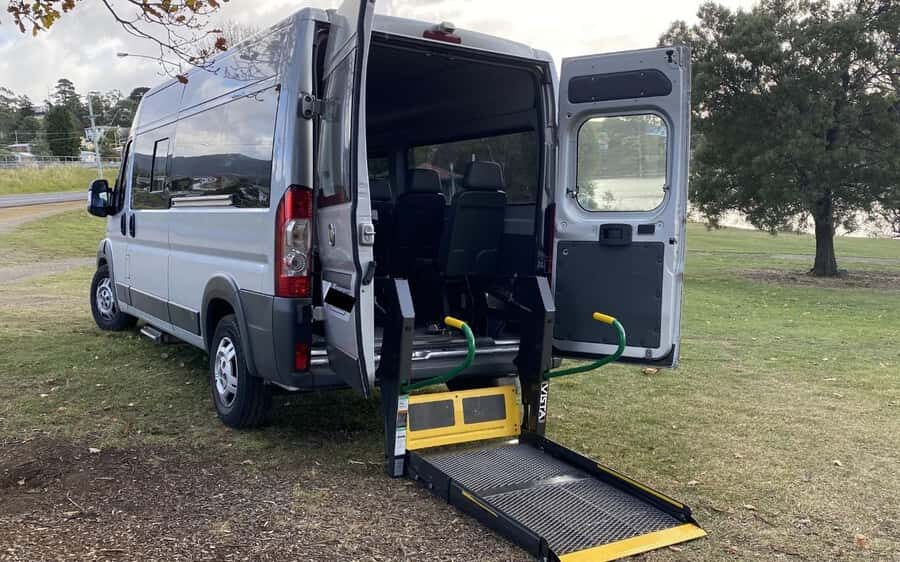
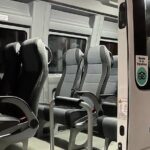
- an air-conditioned vehicle
- a driver/guide
- MONA entry
- the return ferry ticket
Lunch isn’t included, so you’ll want to plan either a purchase in Hobart/around MONA times or eat before/after. The tour also ends with the ferry rather than a hotel drop-off, so build in the final travel back to where you’re staying.
Group size and how that affects your day
The maximum group size is 45 travelers. That’s big enough that you should expect a bit of “move with the group” energy, especially during transitions between stops. Still, the summit time and the MONA time give you room to breathe—especially MONA, where you’re not just standing in line with the bus.
The weather reality you’re paying for
Mt Wellington weather is unpredictable. Some people get clouds that block the city view, and others get clear conditions where the city looks crisp. Since you can’t control that part, you’re really paying for the guided access and the planned schedule—not a guaranteed skyline photo.
Who This Tour Fits Best (and Who Should Think Twice)
This combo is a strong fit if you want one day that covers both:
- an alpine, ecosystem-driven viewpoint on Kunanyi/Mt Wellington
- a long, ticketed museum visit at MONA
It’s also good if you don’t want to manage separate tickets and transport. The ferry inclusion and MONA entry included are a real convenience.
It may be less ideal if:
- you hate cold weather and you want guaranteed warmth outdoors
- you’re very picky about art and need everything to match your taste
- you’re the kind of person who can’t handle crowds, queues, or digital check-ins
Should You Book Mt Wellington and MONA?
I’d book it if you’re visiting Hobart for a limited time and you want a day that mixes famous views with a museum experience that’s genuinely different. The bundled value is the big win: MONA entry + ferry + guided Mt Wellington for one set price is easier than building the day yourself.
I’d think twice only if you’re booking mainly for a specific Mt Wellington city view photo. If the weather closes in, you’ll still be on a mountain, but the look-out payoff may be muted. If you can handle that uncertainty and you’re curious about MONA’s mix of old and new, this is one of the more efficient ways to see both in a single afternoon-to-evening-ready day.
FAQ
How long is the Mt Wellington and MONA tour?
The tour runs about 7 hours 30 minutes (approx.), with separate time blocks for Mt Wellington, Cascade Gardens, and around 4 hours at MONA.
What’s included in the price?
Hotel pickup (where offered), an air-conditioned vehicle, a driver/guide, MONA entry, and a return ferry ticket are included. Lunch is not included.
Where does the tour start and end?
It starts at the Mona Brooke Ferry Terminal on Franklin Wharf, Hobart. It ends at Brooke Street Pier, 12 Franklin Wharf, Hobart, and there is no hotel drop-off.
What time does it start?
The start time is 9:00 am.
Is there a ferry to MONA, or do I travel some other way?
Yes. You take a scenic cruise along the Derwent River to reach MONA, and your return ferry ticket is included.
What happens if the weather is bad for Mt Wellington?
This experience requires good weather. If it’s canceled due to poor weather, you’ll be offered a different date or a full refund.