REVIEW · HOBART
Hobart City Sightseeing Tour including MONA Ticket
Book on GetYourGuide →Operated by Gray Line Tasmania · Bookable on GetYourGuide
Two Hobarts in one day. This Hobart sightseeing tour strings together a lively coach loop through the city with live commentary, then gives you an afternoon ticket to MONA via a modern ferry on the Derwent River. I like how the city part stops for story-driven sights like the Female Factory remains, and I like that you get a solid three hours at MONA instead of a rushed hit-and-run. The main thing to consider is that the vehicle may not always be the converted tram style, depending on operations.
Guide quality is the secret sauce here. Names like Brody, Mark, Hugo, Tim, Phil, Evan, Barry, Craig, and Neil come up again and again for clear explanations and a laid-back sense of humour, which matters on a long day when you want more than just photo stops.
In This Review
- Key highlights worth planning for
- A day that actually makes sense: Hobart by land, MONA by water
- Brooke Street Pier start: simple meeting point, clean handoffs
- The coach portion: over 40 historical sights plus real guide storytelling
- What makes the commentary worth your attention
- Cascade Gardens, photo stops, and the quick walk breaks
- Derwent River crossing and lookout time: where the views do the talking
- Royal Tasmanian Botanical Gardens: how to use your 50 minutes
- MONA in 3 hours: a museum day with room to choose your own pace
- How to make the most of your 3 hours
- The ferry back to Brooke Street Pier: a scenic finish instead of a slog
- Price and value check: $99 for coach, ferry, and MONA ticket
- Who should book this Hobart + MONA tour (and who should skip it)
- Should you book this Hobart City Sightseeing Tour including MONA?
- FAQ
- How long is the tour?
- Where does the tour start?
- Where does the tour end?
- What’s included with the ticket price?
- Do I need to buy the MONA ticket separately?
- Is hotel pick-up included?
- How long do I get at MONA?
- Is the tour guide language English?
- Is the transport always the converted coach tram?
- Can I cancel for a refund?
Key highlights worth planning for
- MONA entry + ferry included for a smooth city-to-museum transition
- Live guide commentary that connects buildings and waterfronts to real Hobart stories
- Derwent River views from Tasman Bridge plus a ferry ride that breaks up the day
- Royal Tasmanian Botanical Gardens time to slow down, not just rush through
- Short, purposeful stops like Cascade Gardens and the Female Factory remains
- 3 hours at MONA so you can choose your own pace inside a big, dark-leaning museum
A day that actually makes sense: Hobart by land, MONA by water
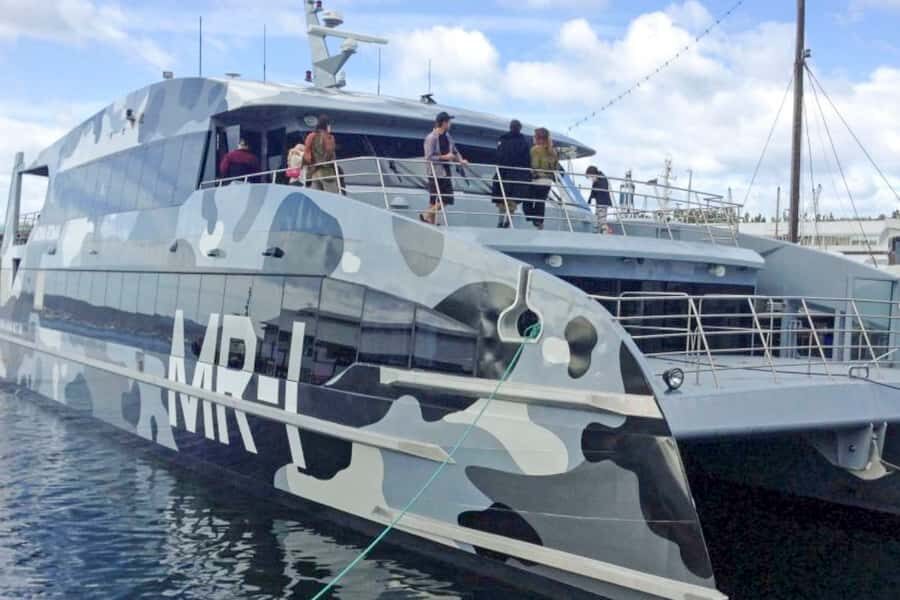
What I like about this experience is the way it splits your day into two different kinds of Hobart. In the morning, you’re on land, getting bearings fast: coves, docks, parks, grand buildings, and viewpoints. Then the afternoon flips the mood with MONA, and the ferry ride acts like a breather between the two.
This works especially well if it’s your first visit to Hobart, or if you only have one day and you don’t want to waste it figuring out transport or timing. You’re basically buying a full-day structure: coach for orientation, ferry for the scenic reset, and then a museum visit with your own time to wander.
The tour is also built around a value idea: instead of paying separately for city sightseeing, museum entry, and river transport, you get them in one package for $99 per person. That’s not bargain-basement cheap, but it can be a smart way to avoid adding up smaller tickets and delays.
More MONA in Hobart & Tasmania

Brooke Street Pier start: simple meeting point, clean handoffs
The day starts at Brooke Street Pier, and you meet at the Gray Line day-tours desk inside the pier building. That’s a straightforward setup—no long searches across the waterfront—so you can spend less time worrying and more time looking at Hobart.
The tour ends back at Brooke Street Pier, with the return ferry getting you back around 17:30. Ending where you started is underrated on a one-day schedule. When you’re done, you’re not suddenly managing a late transfer across town.
One practical detail: this experience doesn’t include hotel pick-up. You’ll need to get yourself to the pier. If you’re staying central, that’s easy. If you’re farther out, plan your morning transit so you arrive early enough to settle in without stress.
The coach portion: over 40 historical sights plus real guide storytelling
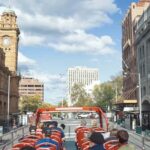
The city drive is designed for context. You’ll see a long list of Hobart’s main landmarks, and the guide uses live commentary to connect them to how the city worked and lived. The goal is not just scenery—it’s understanding why the places look the way they do.
You’ll pass by (among others) Sullivan’s Cove, Parliament House, Salamanca Place, Princes Park, and Battery Point. Those are big-name locations, sure, but the difference here is that you’re not just watching them go by. The guide is there to explain the background and fill in the gaps you’d normally miss on your own.
You also get stops that add texture. One example is walking to see the exterior of the Cascade Brewery—not as a brewery tour, but as a look at what’s still there and what the area represents. Another is the Female Factory remains. That’s the kind of site that can be easy to overlook if you’re only scanning for views, but it adds depth to the story of Hobart’s past.
What makes the commentary worth your attention
A well-run city tour has to do two jobs: entertain you and make the day easier afterward. Good guides in this program do that by:
- pointing out patterns in how the city grew (waterfront first, then inland)
- translating buildings and streets into everyday life at the time
- handling questions without turning it into a lecture
Guides like Brody and Mark are mentioned for being laid-back and enthusiastic, while Tim and Evan are noted for detailed, attentive explanations. You don’t need to memorize facts; you just want understanding. This format is built for that.
Cascade Gardens, photo stops, and the quick walk breaks
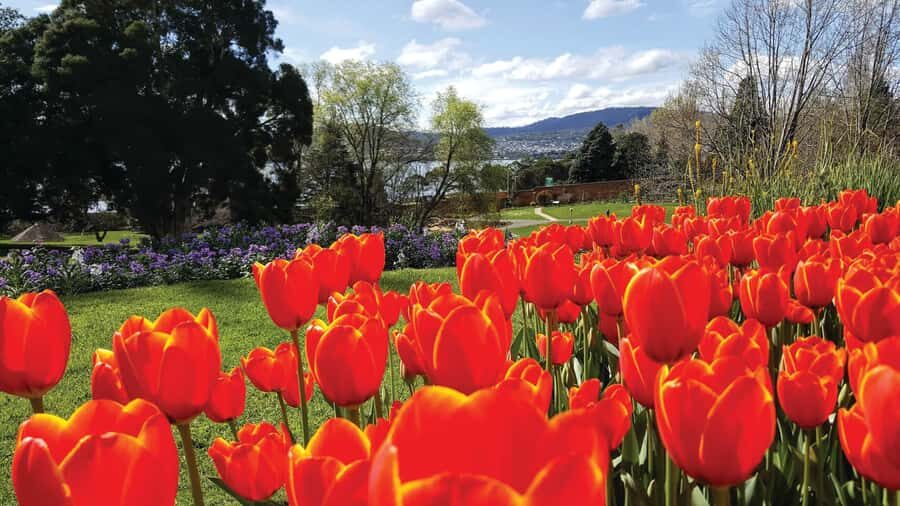
After you’ve settled into the city loop, you get small breaks that keep the day from feeling like one long bus ride. The stop at Cascade Gardens is one of them: you’ll visit and take a short walk (about 15 minutes). Even if you don’t turn it into a full nature wander, it’s a nice reset from streets and buildings.
There’s also a photo stop (around 15 minutes). That’s helpful if you like to actually take pictures, not just stare out the window while the coach keeps moving. If you’re travelling solo, this also gives you a moment to step away from the flow and check your bearings.
One note: the timing is tight. Don’t expect a long café break here. The schedule keeps momentum because the big payoff comes later—at MONA.
More Hobart sightseeing in Hobart & Tasmania

Derwent River crossing and lookout time: where the views do the talking
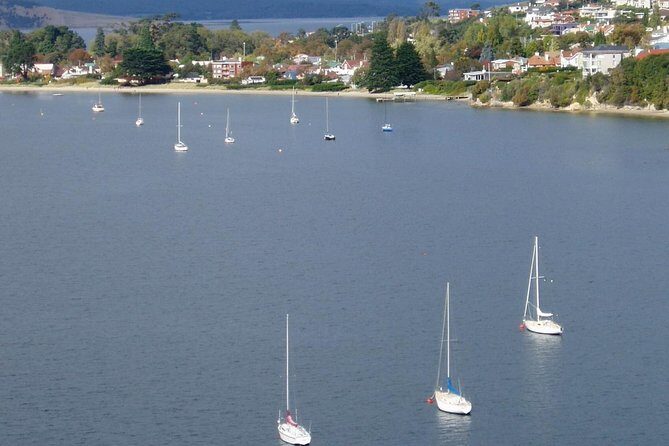
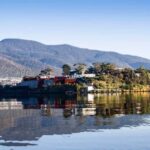
The experience builds toward the water in a practical way. You’ll cross the Derwent River on Tasman Bridge, and that’s when the day suddenly gets more scenic. The bridge itself is impressive, but the bigger win is the changing viewpoint—Marina areas, harbour views, and a sense of scale you don’t get from the land streets.
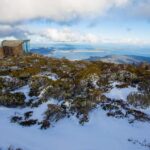
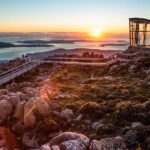
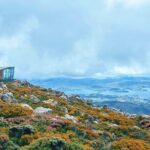
You’ll also stop at Rosny Hill lookout for standout views over Hobart, Sandy Bay, Mount Wellington, Tasman Bridge, and Glenorchy. This kind of lookout is perfect for orienting yourself. Once you see the city laid out, you understand where all the earlier stops fit.
You’ll also pass Victoria Dock and Constitution Dock. Docks can feel like one more waterfront pass-by, but when a guide ties them to Hobart’s movement of people and goods, they stop being background scenery and start being part of the story.
Royal Tasmanian Botanical Gardens: how to use your 50 minutes
One of the most consistently appreciated parts of the day is the Royal Tasmanian Botanical Gardens stop. You get about 50 minutes, including a break time window.
In that time, you can do something small but satisfying:
- take a slow walk to reset your legs after the coach
- grab a drink or snack if you want one
- use the gardens to cool down before MONA
A heads-up: time at botanical stops can be a little tight if you want a full sit-down coffee. If that matters to you, plan to do the garden walk first, then spend less time searching for food and more time heading back toward the group.
This stop is worth your attention because it’s one of the few spots where Hobart feels less about buildings and more about breathing space—still in the city, but calmer.
MONA in 3 hours: a museum day with room to choose your own pace
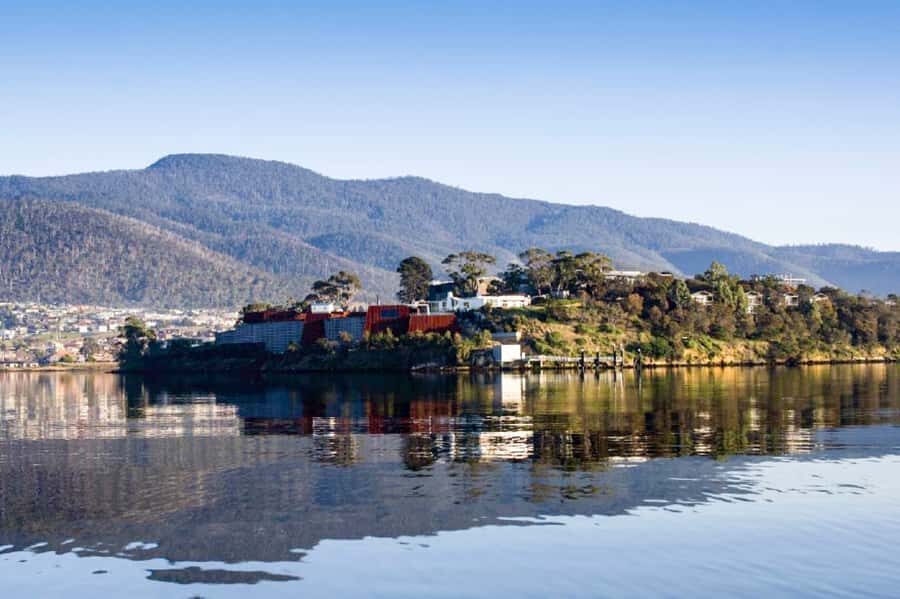
The afternoon is the main event: MONA, Museum of Old and New Art. You get a ticket that includes entry (and the listing says skip-the-ticket-line), plus around 3 hours of free time.
This is not a traditional calm art gallery experience. People describe MONA as bizarre and challenging, with work that can feel shocking or heavy, plus lots of dark, immersive spaces. So go in with the right mindset. If you like art that pushes buttons, you’ll likely feel the appeal quickly. If you prefer light and gentle museum vibes, be ready for work that can feel intense.
How to make the most of your 3 hours
Three hours is enough, but only if you pace yourself. Here’s what tends to work best:
- pick a couple of areas you’re curious about and don’t feel bad skipping others
- plan for the darker rooms to take more time than you expect
- if you get overwhelmed, step back and use your time to see what you can handle rather than forcing it
There’s also value in having time rather than a strict guided script. MONA is the kind of place where you might want to read labels slowly, talk about what you’re seeing, or just walk and watch how the space changes as you move.
If MONA feels like the main reason you booked, you’ll probably like this format a lot because the museum visit doesn’t get compressed into a quick photo session.
The ferry back to Brooke Street Pier: a scenic finish instead of a slog
The day finishes with a ferry transfer back to Hobart. You’ll ride the ferry twice during the experience, each time around 30 minutes.
Ferries do two things for a day like this. First, they give you a real break from road travel. Second, they let you see Hobart from a perspective that the coach can’t offer—moving views of harbour edges and waterline detail.
If you like end-of-day decompression, this is the right moment for it. You’re done with the heavy schedule, you’ve seen the highlights, and you can just enjoy the last stretch without trying to cram anything else in.
Price and value check: $99 for coach, ferry, and MONA ticket
At $99 per person, you’re paying for three built-in elements:
- the coach city sightseeing with live guide commentary
- the MONA entry ticket
- the ferry return transfer to Hobart
If you were to piece this together on your own, the practical cost is rarely just the ticket price. It’s also the time cost: figuring out where to start, how to get to the museum, and how to schedule your day without ending up stressed.
This package is also valuable because it reduces decision fatigue. You show up, get oriented, and then the museum part becomes your personal choice inside MONA’s free time block.
The main value question isn’t whether it’s affordable. It’s whether you want both halves of the day. If you only care about the city sights, MONA is a big portion of the cost and time. If you really want MONA, the included ferry and smooth transfers can feel like money well spent.
Who should book this Hobart + MONA tour (and who should skip it)
You’ll probably love this tour if:
- it’s your first time in Hobart and you want a clear orientation
- you enjoy guide-led storytelling, not just passing landmarks
- you want an easy plan that includes MONA without separate ticket and transport headaches
- you like scenic water views and won’t mind a full day out
I’d think twice if:
- MONA art that’s dark or intense isn’t your thing. Some people find those rooms oppressive, and there’s no way to turn MONA into a light-and-air museum.
- you’re picky about comfort. The program describes a converted tram style, but operations can swap in another vehicle.
- you want a slow, flexible day with long café stops. Botanical Gardens time is limited, and the day has a set rhythm.
If you fall in the middle, it’s still a strong bet, especially because 3 hours at MONA gives you control over how much you take on.
Should you book this Hobart City Sightseeing Tour including MONA?
If you want one day that covers both the classic Hobart highlights and the modern, slightly twisted art side of Tasmania, this tour is an efficient way to do it. The best reason to book is the pairing: coach city context in the morning, then the ferry and MONA in the afternoon, with time to actually experience the museum.
I’d book it if MONA is on your must-do list and you like guided history even when you’re not trying to become a trivia machine. I’d skip or research further if you strongly dislike intense or dark museum spaces, or if you need lots of unscheduled downtime.
FAQ
How long is the tour?
The tour lasts 8 hours.
Where does the tour start?
It starts at Brooke Street Pier.
Where does the tour end?
It finishes at Brooke Street Pier, with the return ferry arriving in Hobart at about 17:30.
What’s included with the ticket price?
You get the coach sightseeing portion, a MONA entry ticket, and a return ferry ticket to Hobart.
Do I need to buy the MONA ticket separately?
No. MONA entry is included, and the tour includes MONA admission in the afternoon.
Is hotel pick-up included?
No, hotel pick-up is not included.
How long do I get at MONA?
You have about 3 hours at MONA.
Is the tour guide language English?
Yes, the live tour guide is in English.
Is the transport always the converted coach tram?
For operational reasons, other vehicles than the converted coach tram may be used.
Can I cancel for a refund?
Yes. Free cancellation is available up to 24 hours in advance for a full refund.