REVIEW · HOBART
Signature Wine Tour – Hobart & SE Tasmania
Book on Viator →Operated by Bespoke Tours Hobart · Bookable on Viator
Wine, cheese, and old stone in one day. I like the small group size (max 6) and the way the tour blends wine tastings with a proper stop for lunch and sightseeing. The one catch: lunch is a break with food available, but the lunch cost isn’t included, so budget for that if you want to sit down and eat.
This is a 7-hour (approx.) loop starting at 9:30am, built around family-run wineries and a relaxed pace. The guide, often Ross (based on past guests’ experiences), keeps things friendly and practical, with extra local pointers for what to do in Hobart after your tour. Your route order can shift depending on weather and availability, and the operator may swap one venue for a similar one.
In This Review
- Key highlights worth getting excited about
- Why Derwent and Coal River wines click together
- The small-group day: pickup, air-con comfort, and a pace that works
- Derwent Estate: a family-owned start and a smooth intro
- Pooley Wines and the handpicked vineyard tasting rhythm
- Wattlebanks Cafe & Providore lunch: a proper break, but you pay for food
- Richmond Bridge: Australia’s oldest bridge and a short history hit
- Wicked Cheese Co.: why cheese tasting belongs in a wine day
- Frogmore Creek Cellar Door & Restaurant: a flexible middle stop
- Puddleduck Wines: the vineyard walk-through finish
- What included tastings get you (and how to make them count)
- Price value at about $157.79 per person
- Who this tour suits best in SE Tasmania
- Should you book the Signature Wine Tour in Hobart and SE Tasmania?
- FAQ
- What is the duration of the Signature Wine Tour?
- How much does the tour cost?
- How many people are on the tour?
- What time does the tour start?
- Is pickup offered?
- Are wine tastings included in the price?
- Is lunch included?
- Which places do you visit?
- What happens if weather is poor?
Key highlights worth getting excited about
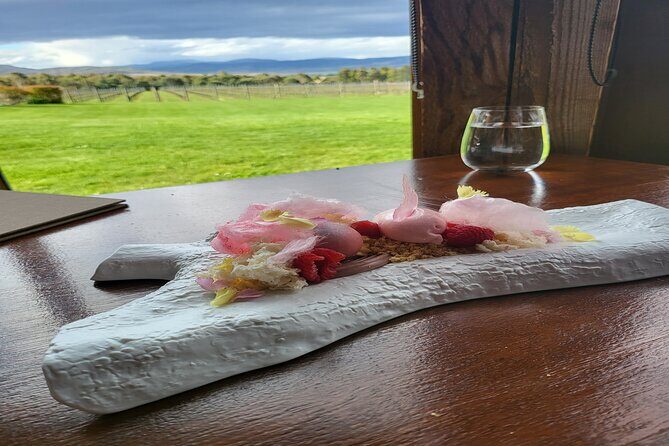
- Derwent Estate to Puddleduck Wines: a day that actually moves through the Derwent & Coal River Valley areas, not just one winery.
- Max 6 people: enough space to ask questions without shouting over a bus.
- Wine tastings are included: plus bottled water and an air-conditioned vehicle.
- Richmond Bridge included: a short historical stop in Australia’s oldest-bridge town.
- Wicked Cheese Co. tasting: the day doesn’t stop at wine; you get a dedicated cheese moment.
- Flexible sequencing: the operator adjusts the order for weather and venue access.
Why Derwent and Coal River wines click together
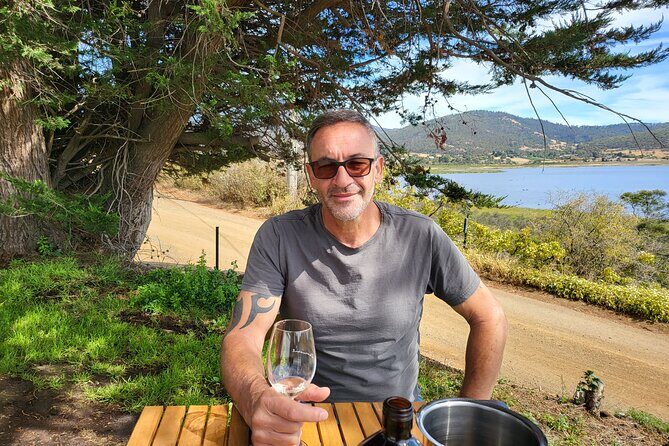
If you’ve been to wine regions before, you know one truth: what matters isn’t just the winery name on the ticket. It’s the feel of the place—soil, weather, grape choices, and how wine makers talk about what they grow.
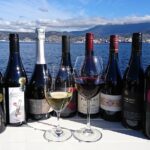
This tour focuses on the Derwent Valley side and the Coal River Valley side, and it does it in a way that helps you connect the dots. You’ll hear about the local grape varieties and the wine background tied to these areas, then you’ll taste the results across multiple stops. That combination—learn a little, taste immediately—tends to make the day more fun, and it helps you pick wines later in a shop without feeling clueless.
You also get an easy “planning win.” Round-trip transportation means you can enjoy tastings without juggling a car, parking, and timing.
Other wine tours in Hobart


The small-group day: pickup, air-con comfort, and a pace that works
The whole plan runs for about 7 hours, starting at 9:30am. If pickup is offered for your location, it’s part of the experience, and you’ll get a mobile ticket. The vehicle is air-conditioned, which matters in Hobart weather shifts—cool mornings can turn warm in a hurry.
Most importantly, the group is kept tiny (up to 6 people). In practical terms, that means:
- You’re not stuck waiting your turn at the tasting bar.
- Questions about grapes, styles, or what to order are easier to ask.
- The guide can adjust on the fly if your group wants more tasting time at one stop.
The tour order is not rigid. Depending on the day, they may adjust the sequence for weather and availability, and they can substitute a venue with a similar option. That flexibility is a good thing in a region where clouds, rain, and venue access can change quickly. Just know it means you should expect the “which winery first” details to be flexible, not guaranteed down to the minute.
Derwent Estate: a family-owned start and a smooth intro
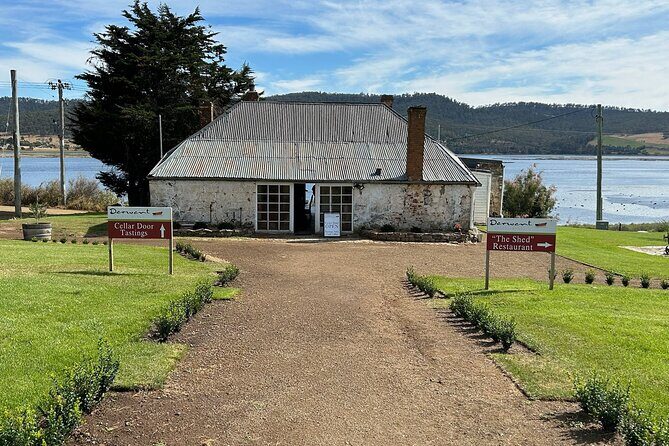
You kick things off with a drive to Derwent Estate, a family-owned vineyard stop designed as your first real introduction to the region’s wines. You’ll spend about 1 hour here, with admission included and tastings folded into that time.
Why this first stop matters: it sets your baseline. Before you add more wineries to the mix, you need a reference point—styles you like, grape traits you recognize, and any “I didn’t expect to like that” moments. Starting at a family-owned property also tends to give you a more personal explanation of why they grow what they grow.
Practical tip: keep your tasting notes simple. A quick word in your phone like crisp, citrus, oak, dry, or easy-drinking goes a long way later when you’re trying to match what you tasted to what you want to buy.
Pooley Wines and the handpicked vineyard tasting rhythm
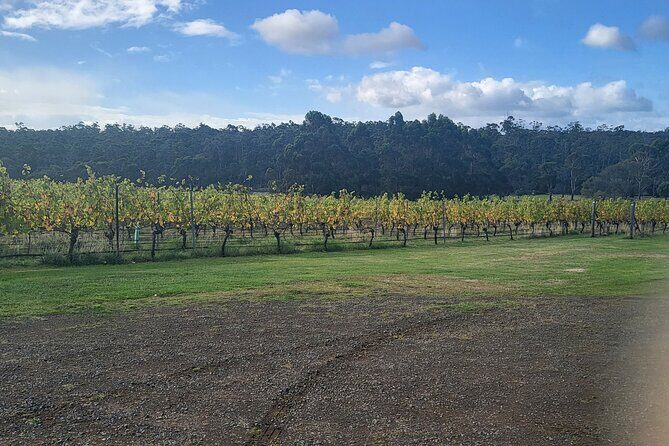
Next up is Pooley Wines, with about 50 minutes scheduled there. Admission is included, and this stop is part of the bigger pattern of visiting additional handpicked small and unique vineyards across the day.
Even if you’re not a “serious wine nerd,” this is one of the best ways to spend a limited day. You get variety without the stress of a self-drive itinerary. The guide also uses the time to connect wine styles to local grape varieties and the way producers think about their land.
A small drawback to flag: with multiple tastings in one day, your palate can fatigue faster than you expect. If you know you’re sensitive to that, slow down at each stop. Take small sips, water between tastings (you get bottled water on board), and don’t feel pressured to taste everything offered. Your goal is enjoyment, not a wine-credits checklist.
Wattlebanks Cafe & Providore lunch: a proper break, but you pay for food
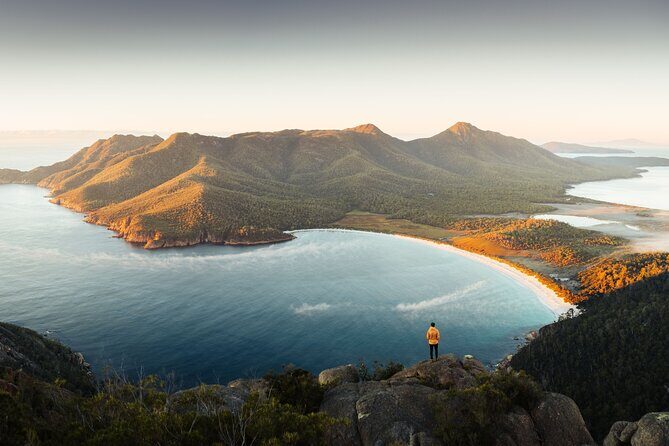
Lunch is planned at Wattlebanks Cafe & Providore for about 1 hour. This is the one part where the tour gives you the stop, but not the meal cost. Admission is not included for lunch, so you’ll want to check prices once you’re there and decide what suits your appetite.
Why I like this setup: it keeps the tour from turning into a rushed “snack and go” situation. You get time to reset, eat something, and keep your afternoon tasting enjoyable instead of shaky.
If you’re buying lunch, a good approach is to choose something you’ll digest well before more wine tastings. Heavier meals plus multiple tastings can make the rest of the day feel slower.
Other wine tours in Hobart


Richmond Bridge: Australia’s oldest bridge and a short history hit
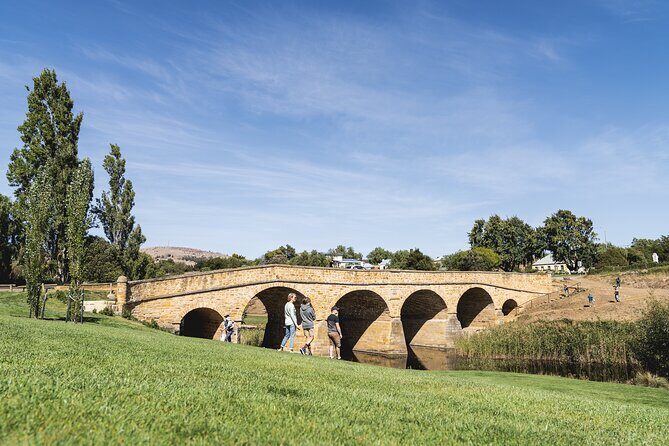
After the food break, you head toward Richmond, with a stop at the historic Richmond Bridge. You’ll have about 30 minutes here, with admission included.
This is one of those stops that doesn’t demand much time but pays off in photos and context. You’ll be walking through one of Tasmania’s well-known historic areas, and you’ll get to see Australia’s oldest bridge, which is a quick, concrete highlight rather than vague sightseeing.
If you’re the type who likes looking up small details later, this is a nice moment to do it. Spend those 30 minutes looking around at the architecture and street feel, then keep moving while you still have energy.
Wicked Cheese Co.: why cheese tasting belongs in a wine day
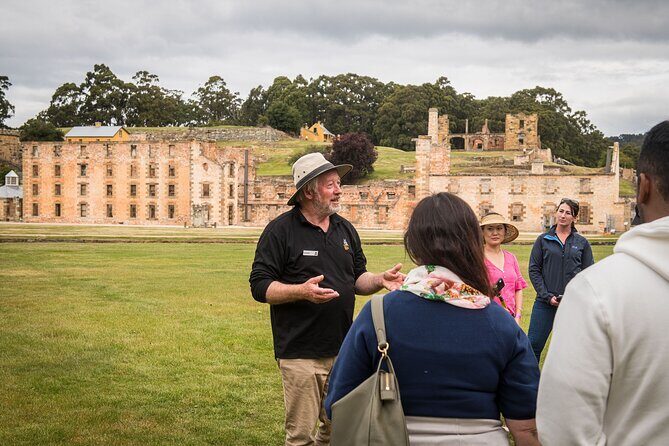
Next comes The Wicked Cheese Co., with a scheduled 20 minutes for a cheese tasting (admission included). This is short, but it’s structured for taste pairing.
Cheese works with wine because it forces you to notice contrasts: salty, creamy, tangy, and how those flavors make wine seem brighter—or sometimes smoother. When you only taste wine, it’s easy to miss how food changes the experience. A dedicated cheese stop fixes that.
Practical thought: if you’re buying a few bottles to take home, tasting the cheese helps you remember what wine styles you enjoyed with flavors that aren’t just fruit and dryness.
Frogmore Creek Cellar Door & Restaurant: a flexible middle stop
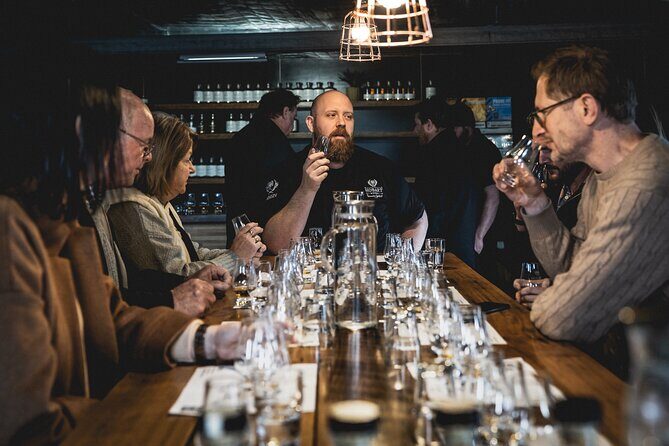
You’ll also visit Frogmore Creek Cellar Door & Restaurant for about 45 minutes, with admission included. This stop is scheduled as part of the day’s flow, but it’s noted as flexible based on weather and venue access, just like other parts of the tour.
What that means for you: treat this as a “high probability favorite” rather than a guaranteed fixed timing moment. In a day like this, the important thing is you’ll still get another tasting and more of the Coal River Valley wine feel.
Because it’s a cellar door and restaurant option, it’s a good place to slow down a bit, taste thoughtfully, and ask the guide for ordering ideas if you want to buy something later. Even if you don’t buy today, asking questions now helps you shop smarter later.
Puddleduck Wines: the vineyard walk-through finish
The final wine stop is Puddleduck Wines, with about 45 minutes scheduled. Admission is included, and you’ll have time to stroll through the vineyards while learning about local grape varieties and the area’s wine background.
Finishing here tends to feel like closure. Earlier stops set your baseline; middle stops expand it; and the last stop helps you decide what you want to remember. If you’ve found a style you love—crisp whites, smooth reds, or anything in between—this is the time you’ll often be best at choosing what to taste again or what to consider buying.
If you’re carrying purchases in your mind, keep an eye on how the wines taste toward the end of the day. Your palate may be more tired, so rely on the earlier favorites too.
What included tastings get you (and how to make them count)
The tour includes all wine tastings, plus bottled water and an air-conditioned vehicle. For many people, that’s the real value: you avoid the hidden “extra tasting fees” that can turn a bargain tour into an expensive one.
To make the most of included tastings, I suggest:
- Pace yourself across stops, not just at the first one.
- Ask a simple question at each venue: what grape is strongest here, and what style do they recommend for your taste?
- If you know you dislike something, don’t force it. Swap to another option if offered.
This is especially important with a day that includes wine, cheese, and a historic sightseeing stop. When the tasting is managed well, the whole day feels like one coherent experience—not random stops thrown together.
Price value at about $157.79 per person
At $157.79 per person, this tour sits in the “mid-range convenience” bracket. The value comes from three areas that reduce your effort and risk:
- Transportation: you’re not driving and timing multiple cellar doors.
- Included tastings: you’re paying for the experience, not just the ride.
- Small group: you’re buying time with the guide and less waiting.
The part that isn’t included is lunch costs, plus any purchases you make on the day. So your total spending could be higher than the headline price if you add food and buy bottles. But you’ll likely spend less overall than you would if you tried to self-drive and paid separately for each stop.
In short: the price makes sense if you want variety and convenience in one day, without turning your Hobart trip into a car-and-checklist project.
Who this tour suits best in SE Tasmania
This is a great match if you:
- Want an organized Hobart wine tour without planning every turn.
- Like both tasting and scenery (vineyards plus Richmond’s historic setting).
- Prefer a day with a friendly guide who talks through the why behind grape choices and styles.
- Would enjoy a food pairing moment via Wicked Cheese Co.
It’s also a good choice if you’re traveling with someone you want to keep talking to all day. The max 6 size helps the day feel social in a relaxed way.
Who might want a different plan: if you hate any day with multiple tastings in succession, consider a shorter “one or two wineries max” tour instead. This one is designed for variety, which means you’ll be tasting regularly from stop to stop.
Should you book the Signature Wine Tour in Hobart and SE Tasmania?
I’d book it if you’re aiming for a single-day hit of Derwent and Coal River wines with thoughtful structure: a family-owned start at Derwent Estate, multiple tasting venues including Pooley and Puddleduck, plus cheese at Wicked Cheese Co., and the historic Richmond Bridge stop.
It’s also a smart pick if you want to avoid the logistics stress of driving yourself between cellar doors. The small group size, included tastings, and guided pacing do a lot of the heavy lifting.
The decision tip I’d give you: bring an open mind about what you’ll love. This tour is set up to show you styles across different producers. If you go in with one fixed preference only, you might miss how fun it is to discover a new favorite—especially by the time you reach the last vineyard stop.
If the weather is bad on your travel dates, the operator will offer another date or a full refund, since the day depends on good conditions. That makes it lower risk than many outdoor-heavy itineraries.
FAQ
What is the duration of the Signature Wine Tour?
The tour runs for about 7 hours.
How much does the tour cost?
It costs $157.79 per person.
How many people are on the tour?
The group is limited to a maximum of 6 travelers.
What time does the tour start?
The start time is 9:30am.
Is pickup offered?
Pickup is offered.
Are wine tastings included in the price?
Yes. All wine tastings are included.
Is lunch included?
Lunch is not included in the price. There is a lunch stop at Wattlebanks Cafe & Providore, but lunch costs are extra.
Which places do you visit?
You visit Derwent Estate, Pooley Wines, Richmond Bridge, The Wicked Cheese Co., Frogmore Creek Cellar Door & Restaurant, and Puddleduck Wines, with the order depending on availability and weather.
What happens if weather is poor?
The tour requires good weather. If it’s canceled due to poor weather, you’ll be offered a different date or a full refund.