REVIEW · HOBART
Hobart City Private Charter Service (3 days in advance)
Book on Viator →Operated by Tasmania Coachlines · Bookable on Viator
Want Hobart’s best view, without the hassle? I love how Mount Wellington turns the whole day into a wow moment, with huge views over Hobart, the Derwent River, and beyond. It’s free, and the timing gives you enough room to pause, look, and actually enjoy the sky and coastline views instead of rushing.
I also love the history-and-food combo around Richmond. You’ll get time to wander Richmond at a relaxed pace, with the old convict-era sandstone bridge still in use and St. John’s Catholic Church, noted as Australia’s oldest Catholic Church. It’s a calmer counterpoint to the city view day, and the driver guide service helps you keep the day moving without feeling herded.
One possible drawback: lunch isn’t included. If you don’t plan a simple meal stop, you might feel hungry during the middle of the 7-hour day, especially if you’re also squeezing in tastings.
In This Review
- Key things to know before you go
- Mt Wellington: the one-hour view that makes the whole day click
- Richmond: walking time, convict-era details, and old church gravitas
- Royal Tasmanian Botanical Gardens: the reset button in your day
- Oyster Farm and Cascade Brewery: where tastings fit naturally
- Salamanca Market on Saturdays, plus the final stop: Wrest Point or wharf sights
- How the private guide service changes your day (and why it matters)
- Price and value: what $860.69 per group really buys
- Who this Hobart private charter suits best
- Should you book this Hobart private charter?
- FAQ
- How long is the Hobart City private charter?
- What’s the price, and how many people is it for?
- Is pickup offered?
- What’s included in the tour price?
- What stops are included?
- Is lunch included?
- Are any admissions free?
- Can I change or get a refund if I cancel?
Key things to know before you go
- Private charter for up to 2 people, so you set the pace and don’t share the vehicle with strangers.
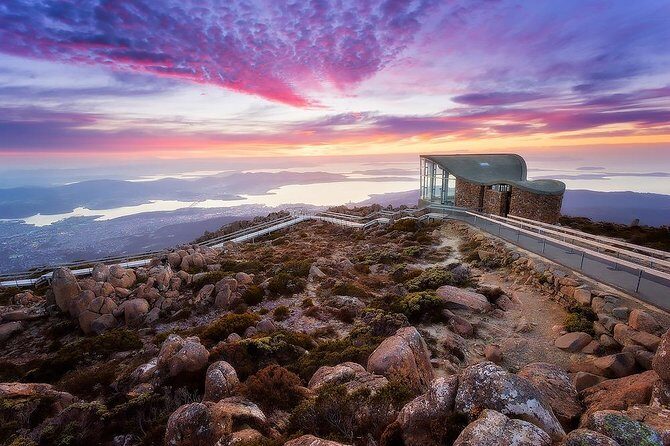
- Mount Wellington is free and gives you the classic Hobart aerial viewpoint over the city and Derwent River.
- Richmond is free to enter and is worth it for the convict-era sandstone bridge and St. John’s Catholic Church.
- Royal Tasmanian Botanical Gardens are a free, low-stress break in the middle of the day.
- Food and drink stops are part of the route, including oyster tastings at Oyster Farm and beer at Cascade Brewery.
- Saturday adds Salamanca Market, and the final stop is either Wrest Point or (as an alternative) the wharf sights.
Mt Wellington: the one-hour view that makes the whole day click
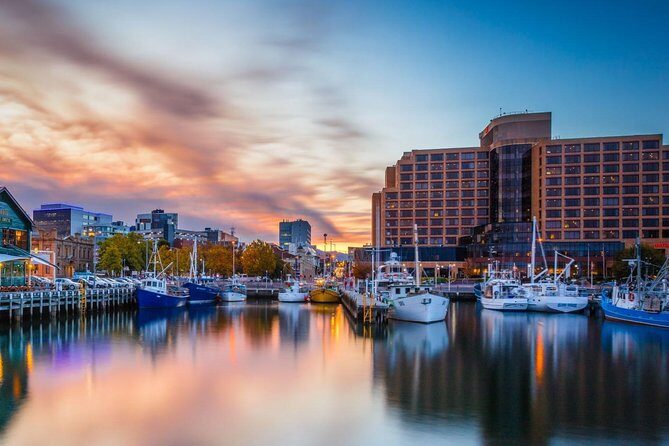
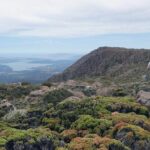
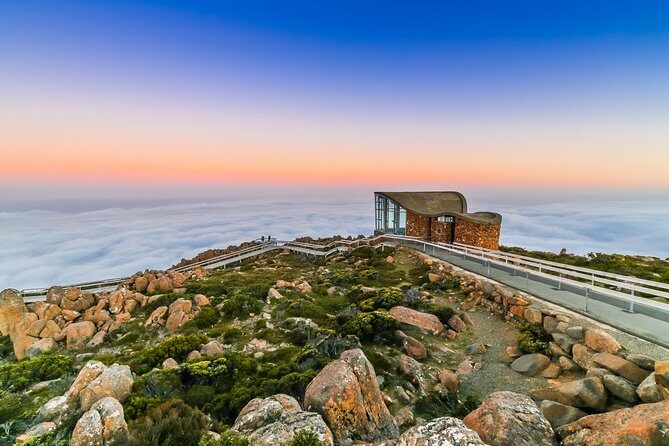
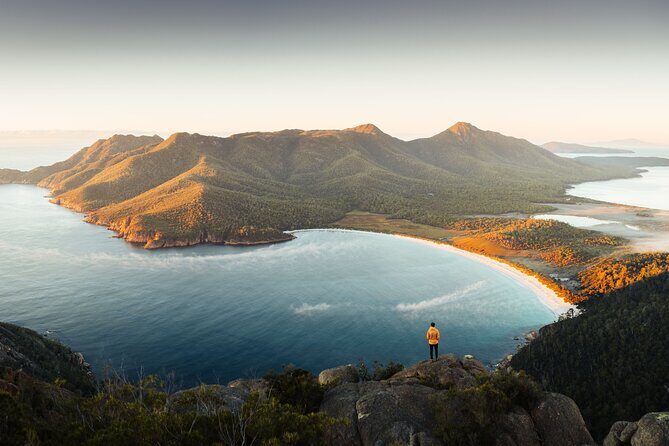
If Hobart is your base, Mt Wellington is the move. The summit view is the kind you point at in silence, then start describing anyway. From the top, you can take in the full sweep of Hobart, the Derwent River, and terrain stretching out in every direction. It’s the landmark you hear about for a reason.
I like that the day is built around this first big payoff. You’re not stuck in traffic for hours before the highlight. You also get a solid block of time (about 1 hour) to look around, take photos, and warm up your sense of direction for the rest of the trip. That matters more than people think. Once you’ve seen the city from above, the roads and distances make more sense later when you’re bouncing between suburbs and nearby towns.
Practical tip: bring a layer. Even when the city feels mild, summit weather can change quickly. Comfortable shoes also help, because you’ll want to move to find the best angles and get a better sense of the coastline.
Other city tours we've reviewed in Hobart


Richmond: walking time, convict-era details, and old church gravitas
Next comes Richmond, a classic Tasmania stop that feels like a step back in time. The best part is the pace. You’re not sprinting from one photo spot to another. You get about 1 hour 30 minutes, which is long enough to stroll, look closely, and still have time to enjoy the food-and-wine vibe.
Here’s what I’d prioritize while you’re there:
- The old sandstone bridge built by convicts, noted as still in use in Australia.
- St. John’s Catholic Church, described as the oldest Catholic Church in Australia.
Even if you’re not a history buff, those two landmarks do something for your brain. They make the town feel real and anchored, not like a theme set. And because you’re in a private charter (up to 2 people), you can slow down if something catches your eye instead of forcing it to fit a group schedule.
If you like combining sightseeing with a side of local flavor, Richmond is built for that. You’ll get a good sense of why it’s popular with both visitors and locals, and you can focus your time on what you care about most: the buildings, the atmosphere, or the chance to grab a bite.
Royal Tasmanian Botanical Gardens: the reset button in your day
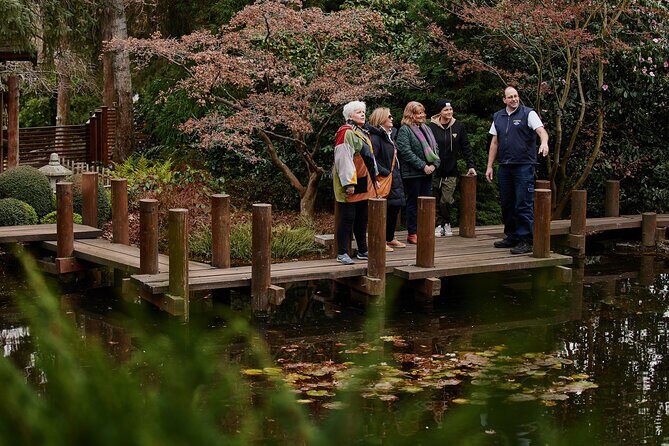
After the historic town walk, the Royal Tasmanian Botanical Gardens offer a simple reset. You’ll have about 1 hour, and that’s the right amount of time for a stroll that doesn’t feel like a full hike.
This stop is valuable because it breaks up the day. You’ve already had a big viewpoint and a focused heritage area. Now you get a calmer rhythm: trees, paths, and space to breathe. It also helps if you’re traveling with anyone who doesn’t want every minute packed with driving and photo stops. This is the middle-of-the-day option that keeps the schedule from turning into one long scramble.
Practical tip: use the garden hour to slow your pace. If you’re the sort who takes a lot of photos, gardens are a good place to do it without feeling guilty about time.
Oyster Farm and Cascade Brewery: where tastings fit naturally
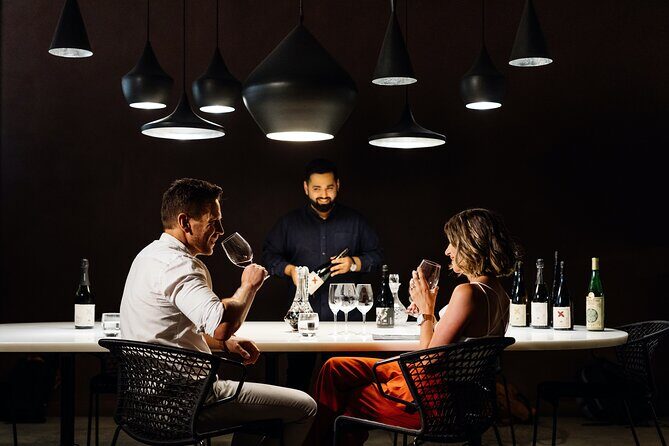
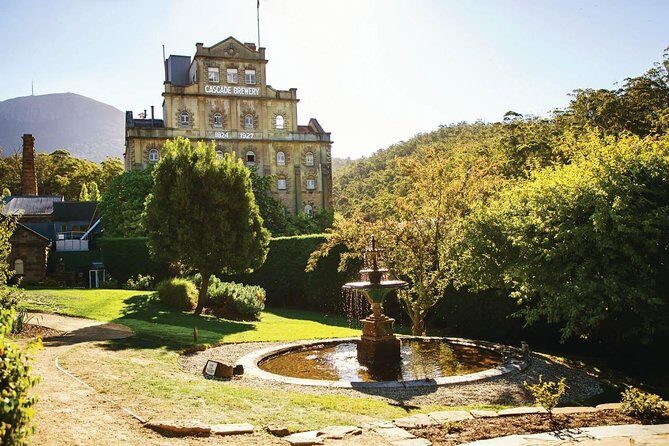
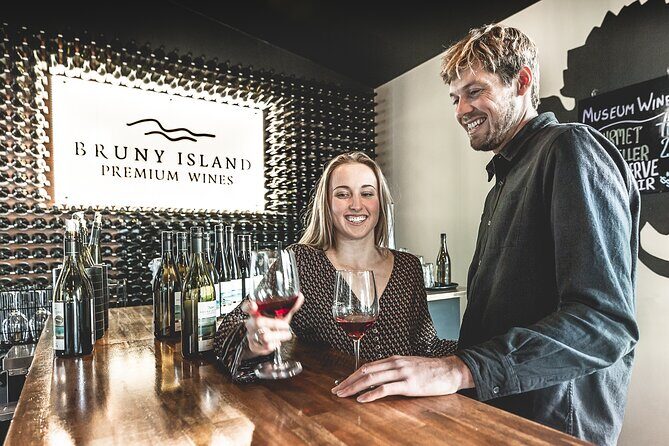
This charter doesn’t treat food as an afterthought. The route includes Oyster Farm for fresh oyster tasting and Cascade Brewery for Australian beer.
I like this kind of inclusion because it solves a common problem in Tasmania: you want local flavors, but you don’t want to spend your own vacation time figuring out where to go and how long it takes. By pairing tastings with sightseeing, the day stays coherent. You’re still moving through different areas, but the highlights aren’t only scenic—they’re also edible.
A quick mindset shift helps here. Don’t rush the tasting part. Plan to actually taste, ask questions, and decide what you want more of. If you’re not a big oyster person, you can still enjoy the stop as a local food experience, but you might want to say up front what you do and don’t want.
Also, because lunch isn’t included, these tastings can partially solve your hunger needs—depending on what you order. If you want a full lunch, you may need to add one stop or choose a meal at one of the food stops along the way.
Salamanca Market on Saturdays, plus the final stop: Wrest Point or wharf sights
If your day lands on a Saturday, the route takes you to Salamanca Market. It’s described as Tasmania’s most visited tourist attraction and has won awards for excellence. More importantly, it’s a place that works for almost everyone: you can browse, snack, shop, and people-watch without needing a strict plan.
Even if you’re not a shopper, a market stop is great for finding quick local tastes and turning your day into something more than just “sightseeing.” Salamanca also tends to give your photos a human layer—things look different when there are stalls, colors, and crowds.
The final stop is Wrest Point, with an alternative option of wharf sightseeing. That’s a nice way to close out the day depending on your mood. If you want a landmark-style finish, Wrest Point fits. If you’d rather end with water views and a more low-key scene, wharf sights can be a better match.
Timing note: markets and last stops can affect how quickly your day ends. If you’re trying to catch a specific dinner plan or a ship schedule, tell the guide early. The flexibility you get with a private charter is only useful when you communicate your priorities.
Other private tours in Hobart




How the private guide service changes your day (and why it matters)
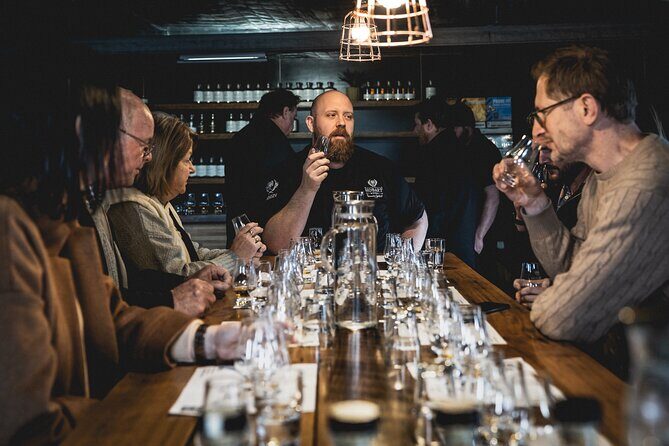
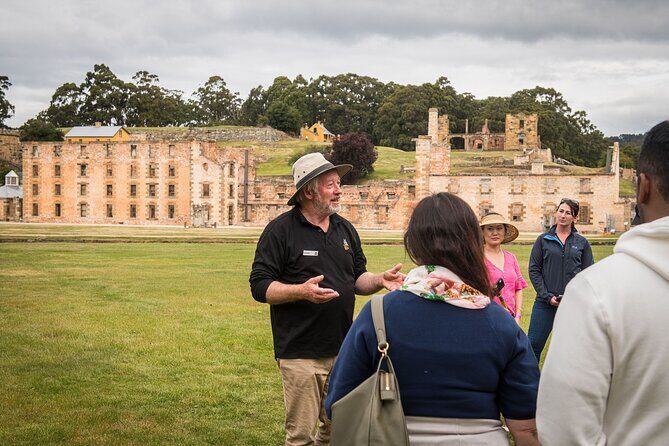
The core value here is the driver guide service with a private charter setup for a small group (up to 2). That means you’re not stuck with a fixed sequence that assumes everyone wants the same things at the same time.
The guide experience shows up in the details. Different guides have handled different situations with real-world flexibility, including:
- Evan tailoring the day around time limits and squeezing in an extra item when there was a little room.
- Gary/Garry adjusting the plan due to late departure tied to ship arrival timing.
- Graeme earning strong recommendations for touring Hobart and surrounding countryside.
- A common theme: using professional judgment to rearrange the order and add food-focused stops, including an oyster restaurant request and a cherry farm detour.
That kind of flexibility is what makes a private charter worth paying for. You’re paying for someone else to think on the fly. If weather changes, if you need a restroom stop, if you realize you want more time in Richmond or less time in the garden—this style of tour can adapt without you having to fight for it.
Another benefit: pickup is offered, which reduces the “where do we meet and how do we get there” stress. A mobile ticket is also included, which helps when you’re juggling travel days and schedules.
Price and value: what $860.69 per group really buys
The price is $860.69 per group (up to 2), and it’s commonly booked about 43 days in advance. On paper, that sounds pricey. But private charters are one of those costs that only make sense when you calculate your own time savings and your group’s comfort level.
Here’s how I’d judge the value for you:
- If you’re traveling as a couple or small pair, you split the cost and get a dedicated vehicle for the day.
- You’re not paying “per person” for a seat on a shared bus.
- You’re also buying convenience: air-conditioned vehicle, pickup offered, and a driver guide who can adjust your day.
The main “value trade” is that lunch is not included. That means you might spend a little extra if you want a full meal rather than tastings and snacks. If you treat this as a half-sightseeing, half-tasting day, it can still work well without a heavy lunch budget. If you want a proper sit-down lunch, plan it ahead or ask the guide to recommend something that fits your route.
A practical way to decide: if you want maximum flexibility and a customized pacing between major stops, this price can feel fair. If you’re fine with group schedules and you’re comfortable navigating on your own, you may be able to do it cheaper. But cheaper often means more coordination for you.
Who this Hobart private charter suits best
This charter fits best if you want a full day with the big highlights and don’t want to manage logistics.
You’ll likely enjoy it if you:
- Like a mix of views + historic town + food stops.
- Want private time for photos and wandering.
- Have limited time in Hobart and want a tight route that still includes breaks.
- Prefer being able to adjust plans when timing gets messy (like arrival/departure constraints).
It might feel less ideal if you:
- Expect lunch to be part of the price.
- Want a very fast, packed itinerary where every minute is scheduled and timed tightly.
- Don’t care about the specific stops (Mt Wellington, Richmond, gardens, oyster/beer) and would rather build a different day.
Should you book this Hobart private charter?
Yes—if your top priority is a smooth, guided day that hits Hobart’s essentials without you steering the schedule. Mt Wellington is the kind of stop that’s worth paying for once you factor in convenience, comfort, and the ability to pace yourself. I also like how Richmond and the Botanical Gardens add variety, instead of being just “more driving.”
I’d book it especially if you’re traveling with a partner and can use the private flexibility. The guide names popping up—Graeme, Evan, and Gary/Garry—all point to the same thing: people remember the ability to adapt. Just go in knowing lunch isn’t included, and you’ll be in great shape.
FAQ
How long is the Hobart City private charter?
It’s about 7 hours.
What’s the price, and how many people is it for?
It costs $860.69 per group, up to 2 people.
Is pickup offered?
Yes, pickup is offered.
What’s included in the tour price?
You get an air-conditioned vehicle and driver guide service.
What stops are included?
You’ll visit Mount Wellington, Richmond, and the Royal Tasmanian Botanical Gardens. The broader plan also includes Oyster Farm and Cascade Brewery, with Salamanca Market on Saturdays, and a final stop at Wrest Point (or wharf sightseeing as an alternative).
Is lunch included?
No, lunch isn’t included.
Are any admissions free?
Mount Wellington, Richmond, and the Royal Tasmanian Botanical Gardens are listed as free.
Can I change or get a refund if I cancel?
No. It’s non-refundable and cannot be changed for any reason.